
A ceiling fan is a great way to keep your home comfortable all year round. They can help to circulate air and keep you cool in the summer, and they can help to circulate heat in the winter. Installing a ceiling fan is a project that most people can do themselves, but it is important to follow the proper steps to ensure a safe and successful installation.
The first step is to determine where you want to install the fan. You will need to have at least 7 feet of clearance from the floor to the blade tips of the fan. You will also need to make sure that the fan will not block any vents or light fixtures.
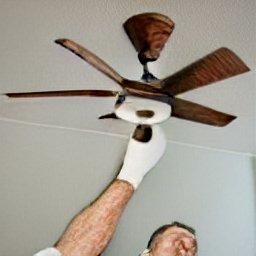
Once you have determined the location, you will need to remove the old light fixture, if there is one. Be sure to turn off the power to the light fixture at the breaker box before removing it. Next, you will need to install the mounting bracket for the fan. This bracket will attach to the ceiling joists. If you are not sure how to find the joists, you can use a stud finder.
Once the bracket is in place, you can install the fan motor and blades. The motor will attach to the bracket with screws, and the blades will attach to the motor with screws or clips. Be sure to follow the instructions that come with your fan.
Once the fan is installed, you can turn on the power at the breaker box and test it out.