
Installing a ceiling fan without attic access is a little more challenging, but it can be done. Here are a few tips to help you out:
- Locate the studs in the ceiling and mark them with a pencil.
- Drill a pilot hole in the center of each marked stud.
- Insert a metal fan brace into the hole and twist it until it’s secure.
- Hang the fan bracket on the brace and secure it with screws.
- Attach the fan blades and motor to the bracket.
- Plug in the fan and test it out.
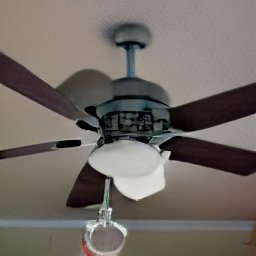
A ceiling fan is a great way to keep your home cool in the summer and can save you money on your energy bill. Ceiling fans come in a variety of sizes and styles to fit any room in your home.
When shopping for a ceiling fan, be sure to consider the size of the room and the height of the ceiling. Fans come in different sizes, from small fans for rooms up to 150 square feet to large fans for rooms up to 400 square feet.
Be sure to also consider the style of the fan. There are many different styles to choose from, including traditional, modern, rustic, and tropical.
Once you’ve chosen the size and style of the fan, be sure to have the correct mounting kit for your specific type of ceiling. Most fans come with a standard mounting kit, but some require a special kit that is sold separately.
Once you’ve chosen the right fan and mounting kit, installation is a breeze. Most fans can be installed in less than an hour.
If you’re not comfortable installing the fan yourself, many electricians offer fan installation services.
So, if you’re looking for a way to cool your home this summer, consider investing in a ceiling fan. You’ll be glad you did!